
Bulldog2 Walkthrough
This is a walkthrough of the CTF machine “Bulldog2” on Vulnhub. For me this was a challenging VM to beat! I like one’s like these because they challenge me while still being enjoyable.
****Spoiler Alert**** ****Spoiler Alert****
So after initial bootup we grab the IP and perform the obligatory nmap scan:
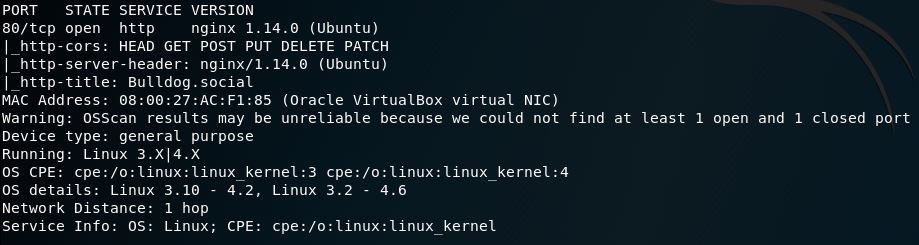
Looks like slim pickings with a single website. Let’s take a look at Bulldog.social:
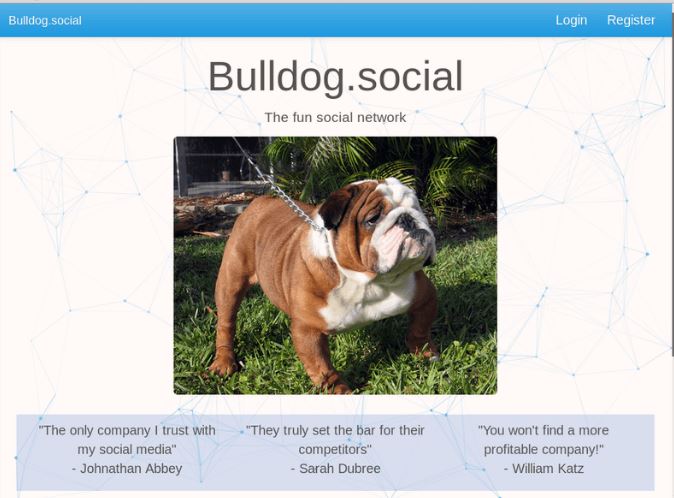
Nice. Another social media site selling data to vendors. If we look at the source we see that the site references several JavaScript files. The “main” one looks interesting as it references several functions and even paths that Nikto and Dirb didn’t find. From this we’re able to find the path to extract all 15K of Bulldog.social users:
http://x.x.x.x/users/getUsers?limit=
Unfortunately, no passwords were included in the output. No problem, if we run the login process through Burp Suite we have the option to copy as a Curl command. From that I was able to piece together a very dirty “quick crack” script after extracting all of the usernames:

Since we’re getting JSON output back on failed authentications as “false”, searching the output for any “true” indicators will result in a successful authentication. After only a few changes of password, we have a winner:

So upon logging into the horochette account with the password we specified in the Curl script previously we weren’t really presented with much to work with, or were we? Looking back at the image above we can see we have a few pices of info. A token (JWT), and some other identifying pieces of information on the user, in addition to the users “auth_level”.
I knew I had seen this somewhere before and sure enough, going back to the main JavaScript file and searching it we can see a “master_admin_user”:

So why not try to escalate our “auth_level” via FireBug?

Once we refresh, we are presented with a new “Admin” option. WoHoo!
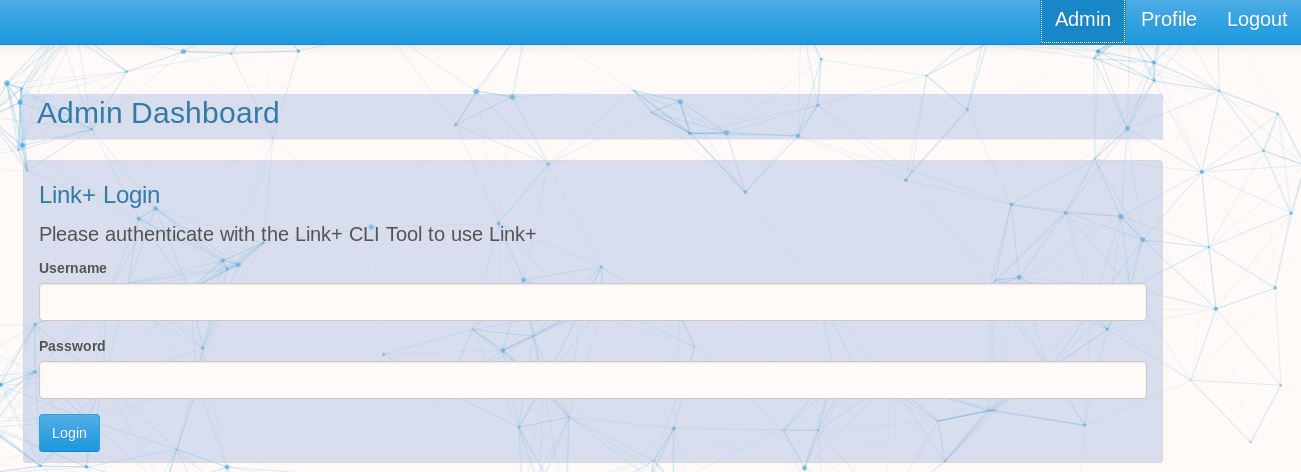
….With a separate authentication dialog ಠ╭╮ಠ
Ok, so I can tell the authentication is happening against /users/linkauthenticate, and originally I figured I would try to reverse my Curl script from above. I plugged a static “admin” user and set it to run against a common password dictionary. I noticed that I was getting a ton of errors so upon taking a look at the output I noticed this:
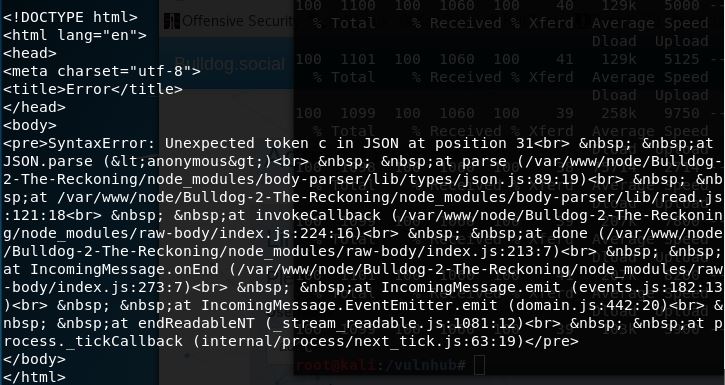
Errors are always useful in some way, and here I can tell that the full name of the installation is “Bulldog-2-The-Reckoning”. Not having much else to go on here, and after trying multiple other brute force attempts I tried Googling that name. This led to the Github repo of what appeared to be the same site. Great, looking at the source for the “linkauthenticate” dialogue showed the following:
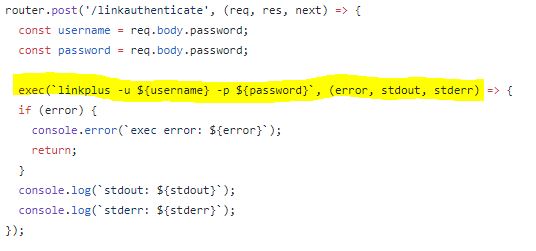
So from here I could tell that there is no input validation and that the use of “exec” meant that I should be able to perform command injection. What I didn’t realize at the time was that this was basically blind command injection. Nor did I really know what the correct escape syntax was. Because this is a learning process I don’t feel bad about looking at a separate walkthough for this. I took a look at Bernie Lim’s walkthough and found what I was missing, although my take was a little different.
I created a script with a Bash reverse shell instruction and saved it to my web directory in Kali, and started Apache. Then started my NetCat listener and ran through the following commands, each time receiving nothing but an incorrect login:

On the last command, the shell was popped!

Since this was a not a PTY, I upgraded my shell quickly via the following:
python -c ‘import pty; pty.spawn("/bin/bash")’
One of the first things I usually look at when priv-esc’ing, is /etc/passwd, along with it’s privileges just for S&G’s. To my surprise, it’s fully writable! At this point I was sure I had a quick win, and it was but it did still give me a moment of pause. Normally I would just edit the passwd file, take out the extra password prompt for root and be done with it. However if the password is not able to be left blank what can be done? Luckily I ran across a post here that describes how to generate an encrypted password that can be entered into the password “x” field in /etc/passwd.
Once the password was generated it was a simple copy of the file to /tmp, running sed to replace, and verify:

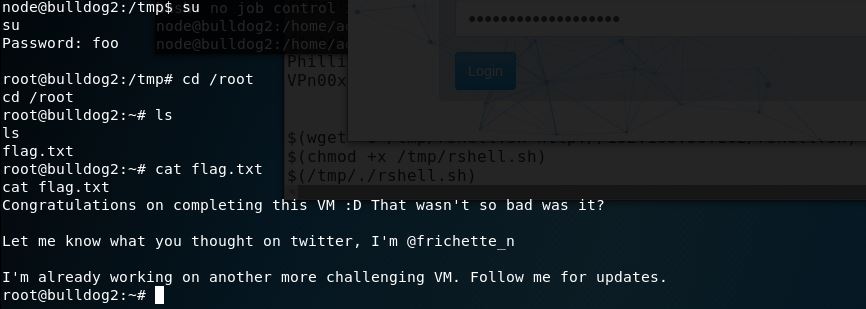
Once we copyied the file back we “su” and enter our password that we previously encrypted and set, then grab our flag:
Whoa, for me this was a beast of a CTF. I’m not much of a Node.js guy so I’m glad to have had the opportunity to learn a bit about some of it’s inner-workings.